How to change your favicon in WordPress
Now let’s give you a simple step-by-step guide on how to change your favicon in Website Creator. The favicon is called a site icon in Website Creator and can be added in the customize theme section.
Log in to your Website Creator.
When you’re logged in, you’ll be in your ‘Dashboard’:
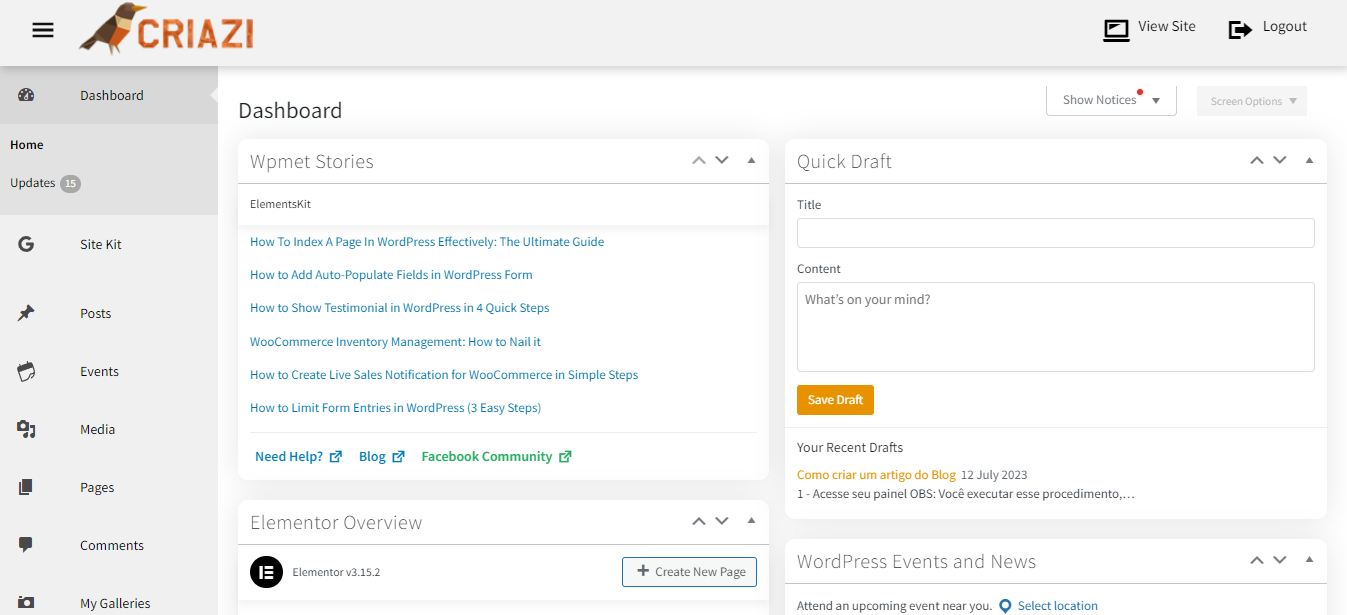
Click on ‘Appearance’.
On the left-hand side, you’ll see a menu. In that menu, click on ‘Appearance’.
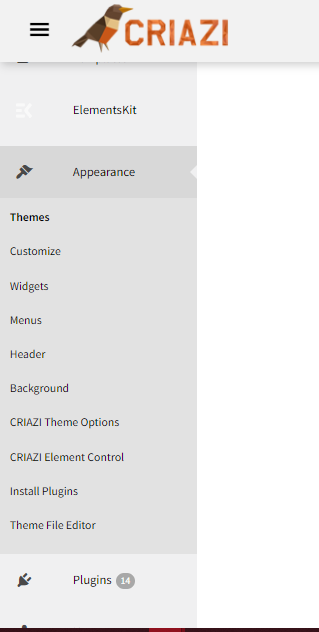
Click on ‘Customize’.
The ‘Appearance’ settings will expand providing you with additional options. Click on ‘Customize’.
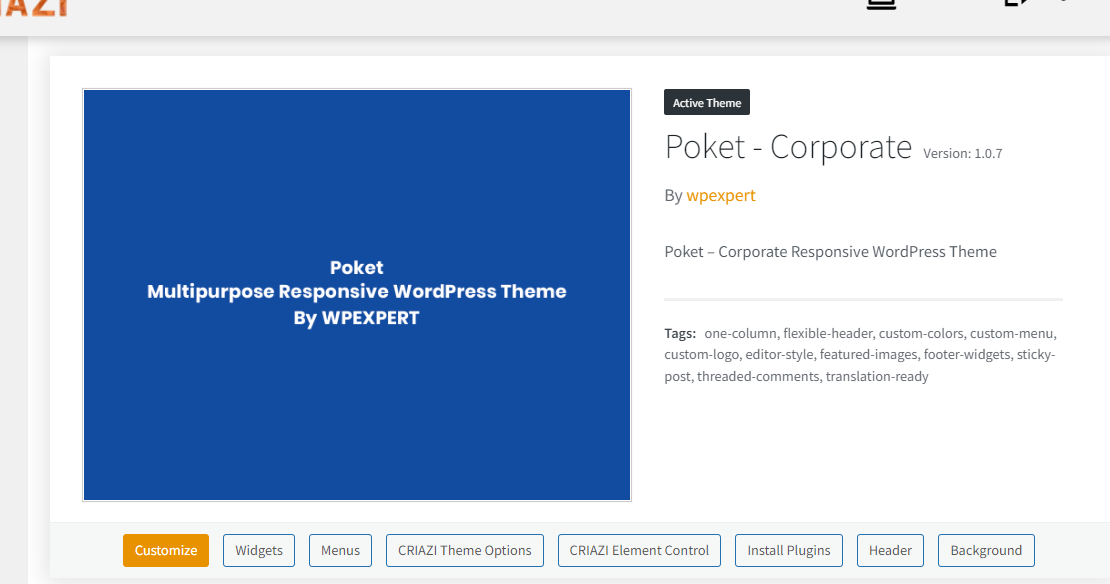
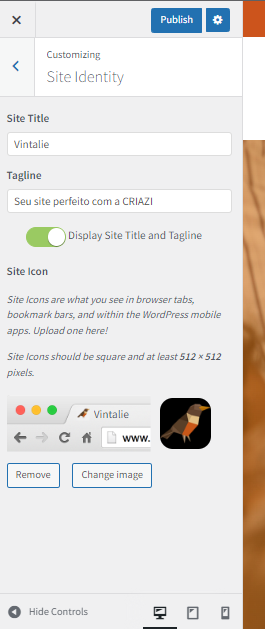
Click on ‘Site Identity’ and add your favicon under ‘Site Icon’.
Here you can define your site name, tagline, logo, and icon. The image you set under “Site Icon” will be used as your site’s favicon:
That was easy, wasn’t it? So, no more excuses, get to it. Change that favicon on your Website Creator!
