See how easy it is to create a gallery for your website!
1- To log in to your website, check out the login tutorial, by clicking here
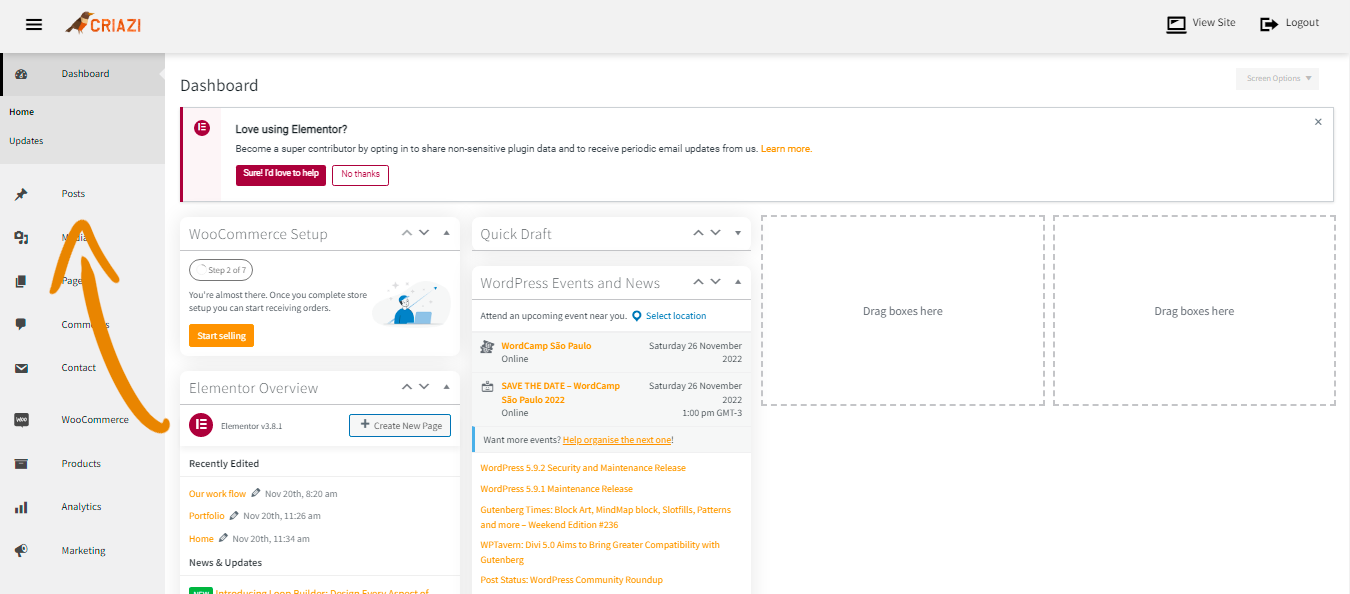
After logging in, click on “Posts/Articles”
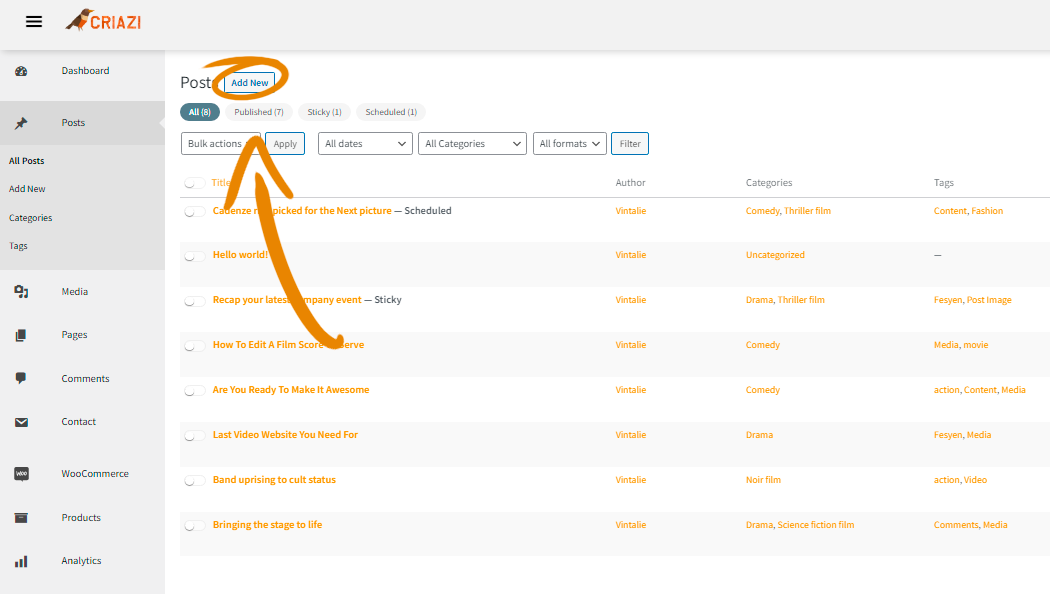
2 – Click on Add new Post
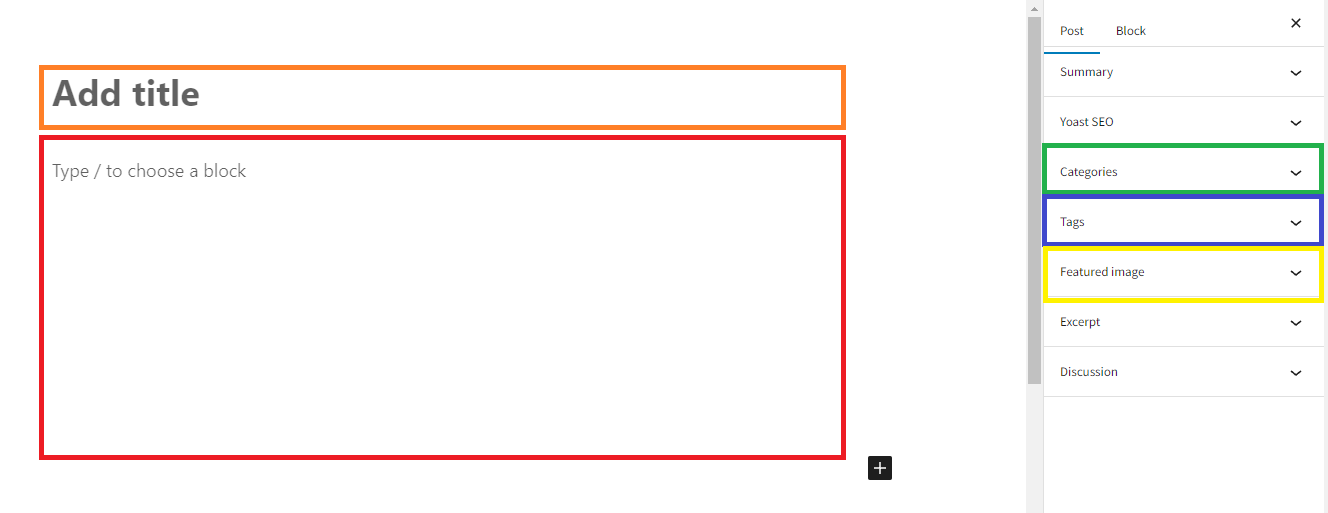
3 – Choose a title and start editing your post, see where to add each item indicated by the colors in the image:
Title: Enter the title of your post in the “Title” field.
Content: In the text field below, you can start writing the content for your post.
Category and Tags: These are important for classifying your posts, in the right panel you can assign the post to one or more categories and add relevant tags.
Featured Image: The featured image serves as the cover image for your post, you can set a featured image for the post by clicking on “Set Featured Image” at the bottom right of the screen.
4 – Here we will edit the content of our post, start by adding the text and then click on the + button.
Tip: Add text before elements to make it easier to manipulate positions.
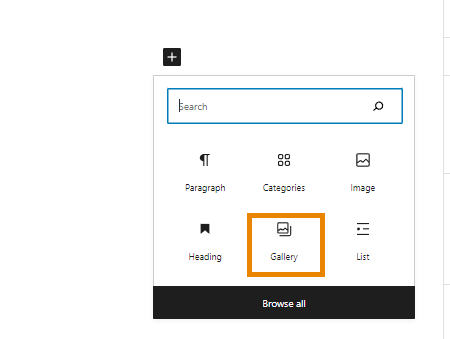
5 – Now add “Gallery”
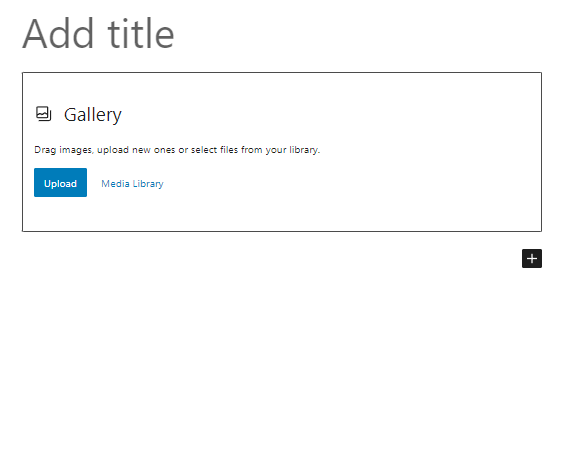
5 - Click Upload or Media Library and select the images to be inserted into the gallery.
6 - Select the images you want to include in the gallery and click Create a Gallery.
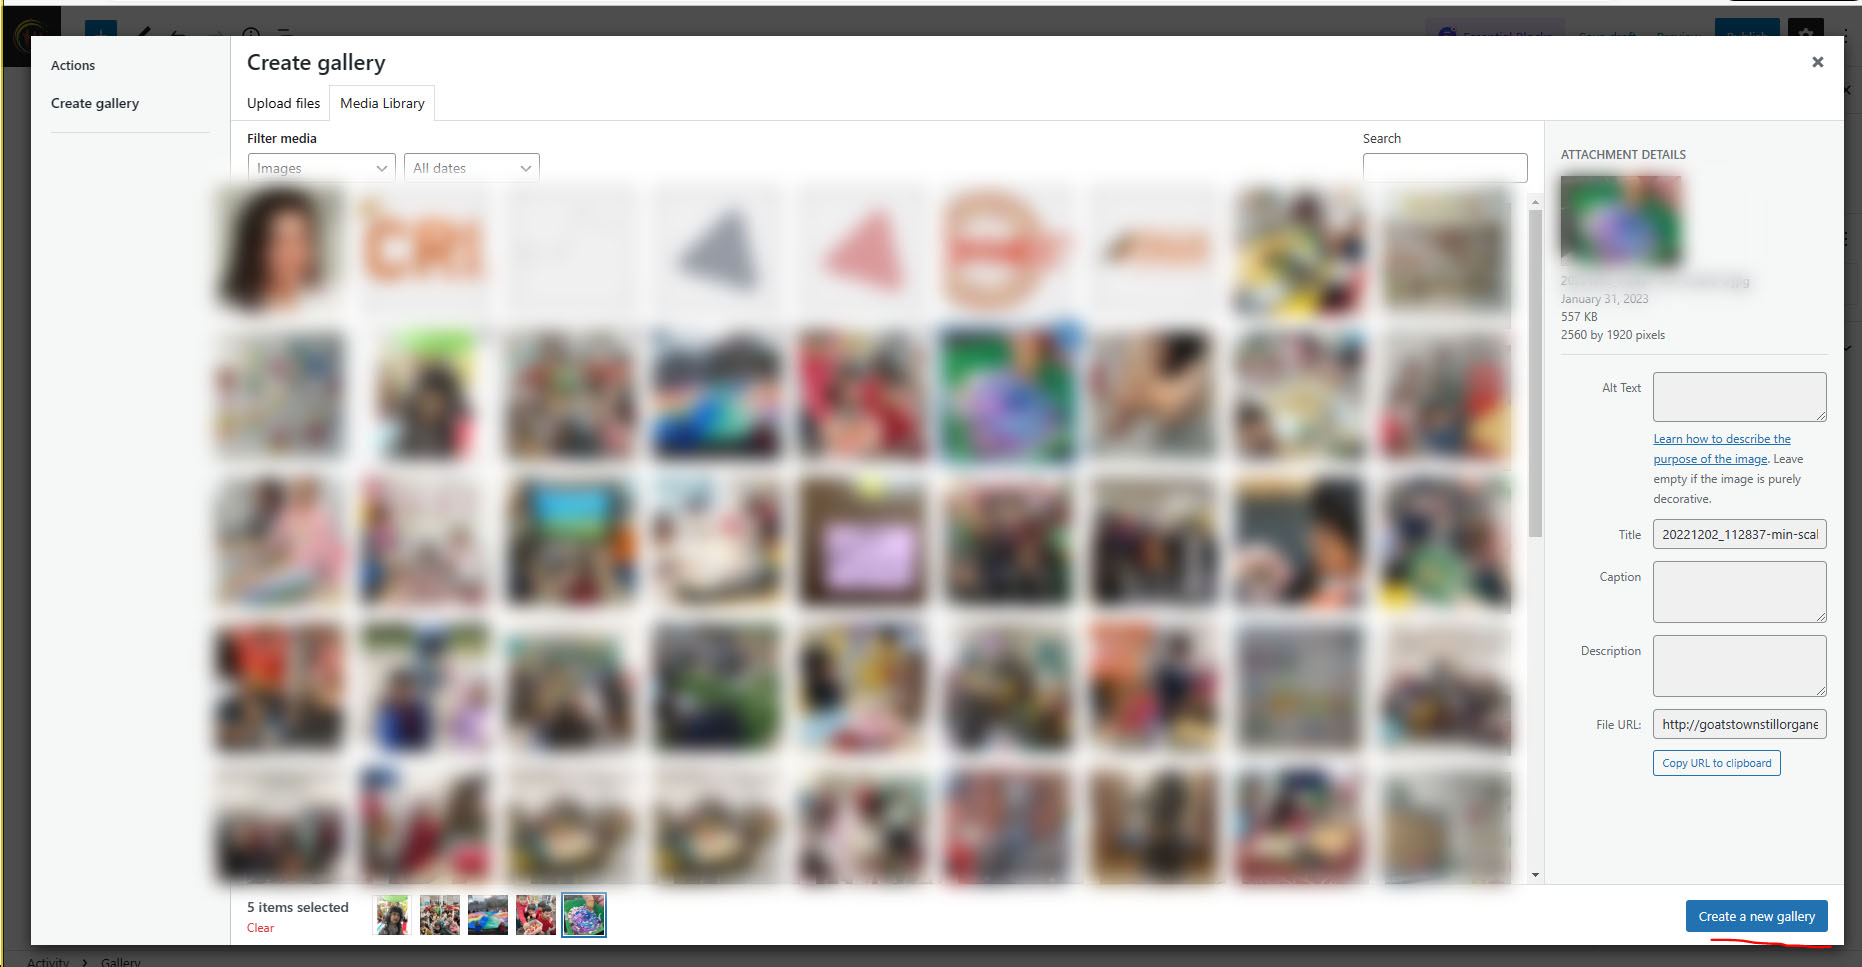
7 - After checking the images, click on insert gallery

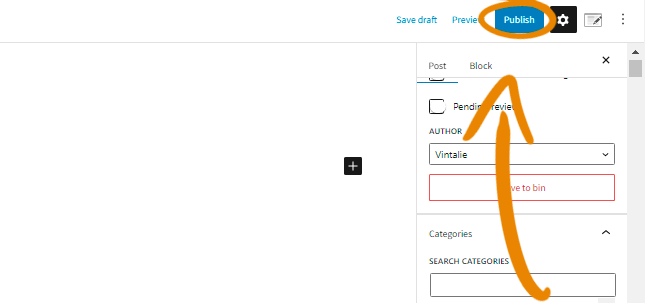
8 – Now you can "publish" your post, don't forget to add the categories, they are important to direct your posts to the correct place!